Pumpkin Pie Oatmeal

I’m sure so many of you indulge in pumpkin pie around the holidays. I mean, it is the season!

And while some love pumpkin pie, some love a good pumpkin spice latte. Well, this girl loves a darn good bowl of oatmeal as it comes to November and December.

Okay- I love oats all the time- just, bear with me for the sake of the cheesy opening to my recipe!

Anywho, I’ve been bored lately, and so I’ve started really working on creating new things I can munch on in my dorm room which is super fabulous because I’ve truly missed cooking and have felt extremely detached from a part of me that I really enjoy. So I woke up this morning, and remembered the organic pumpkin that was on sale at target I bought on Friday! I also received pie spice from my friend’s mom on Saturday, and knew oats were on the way.

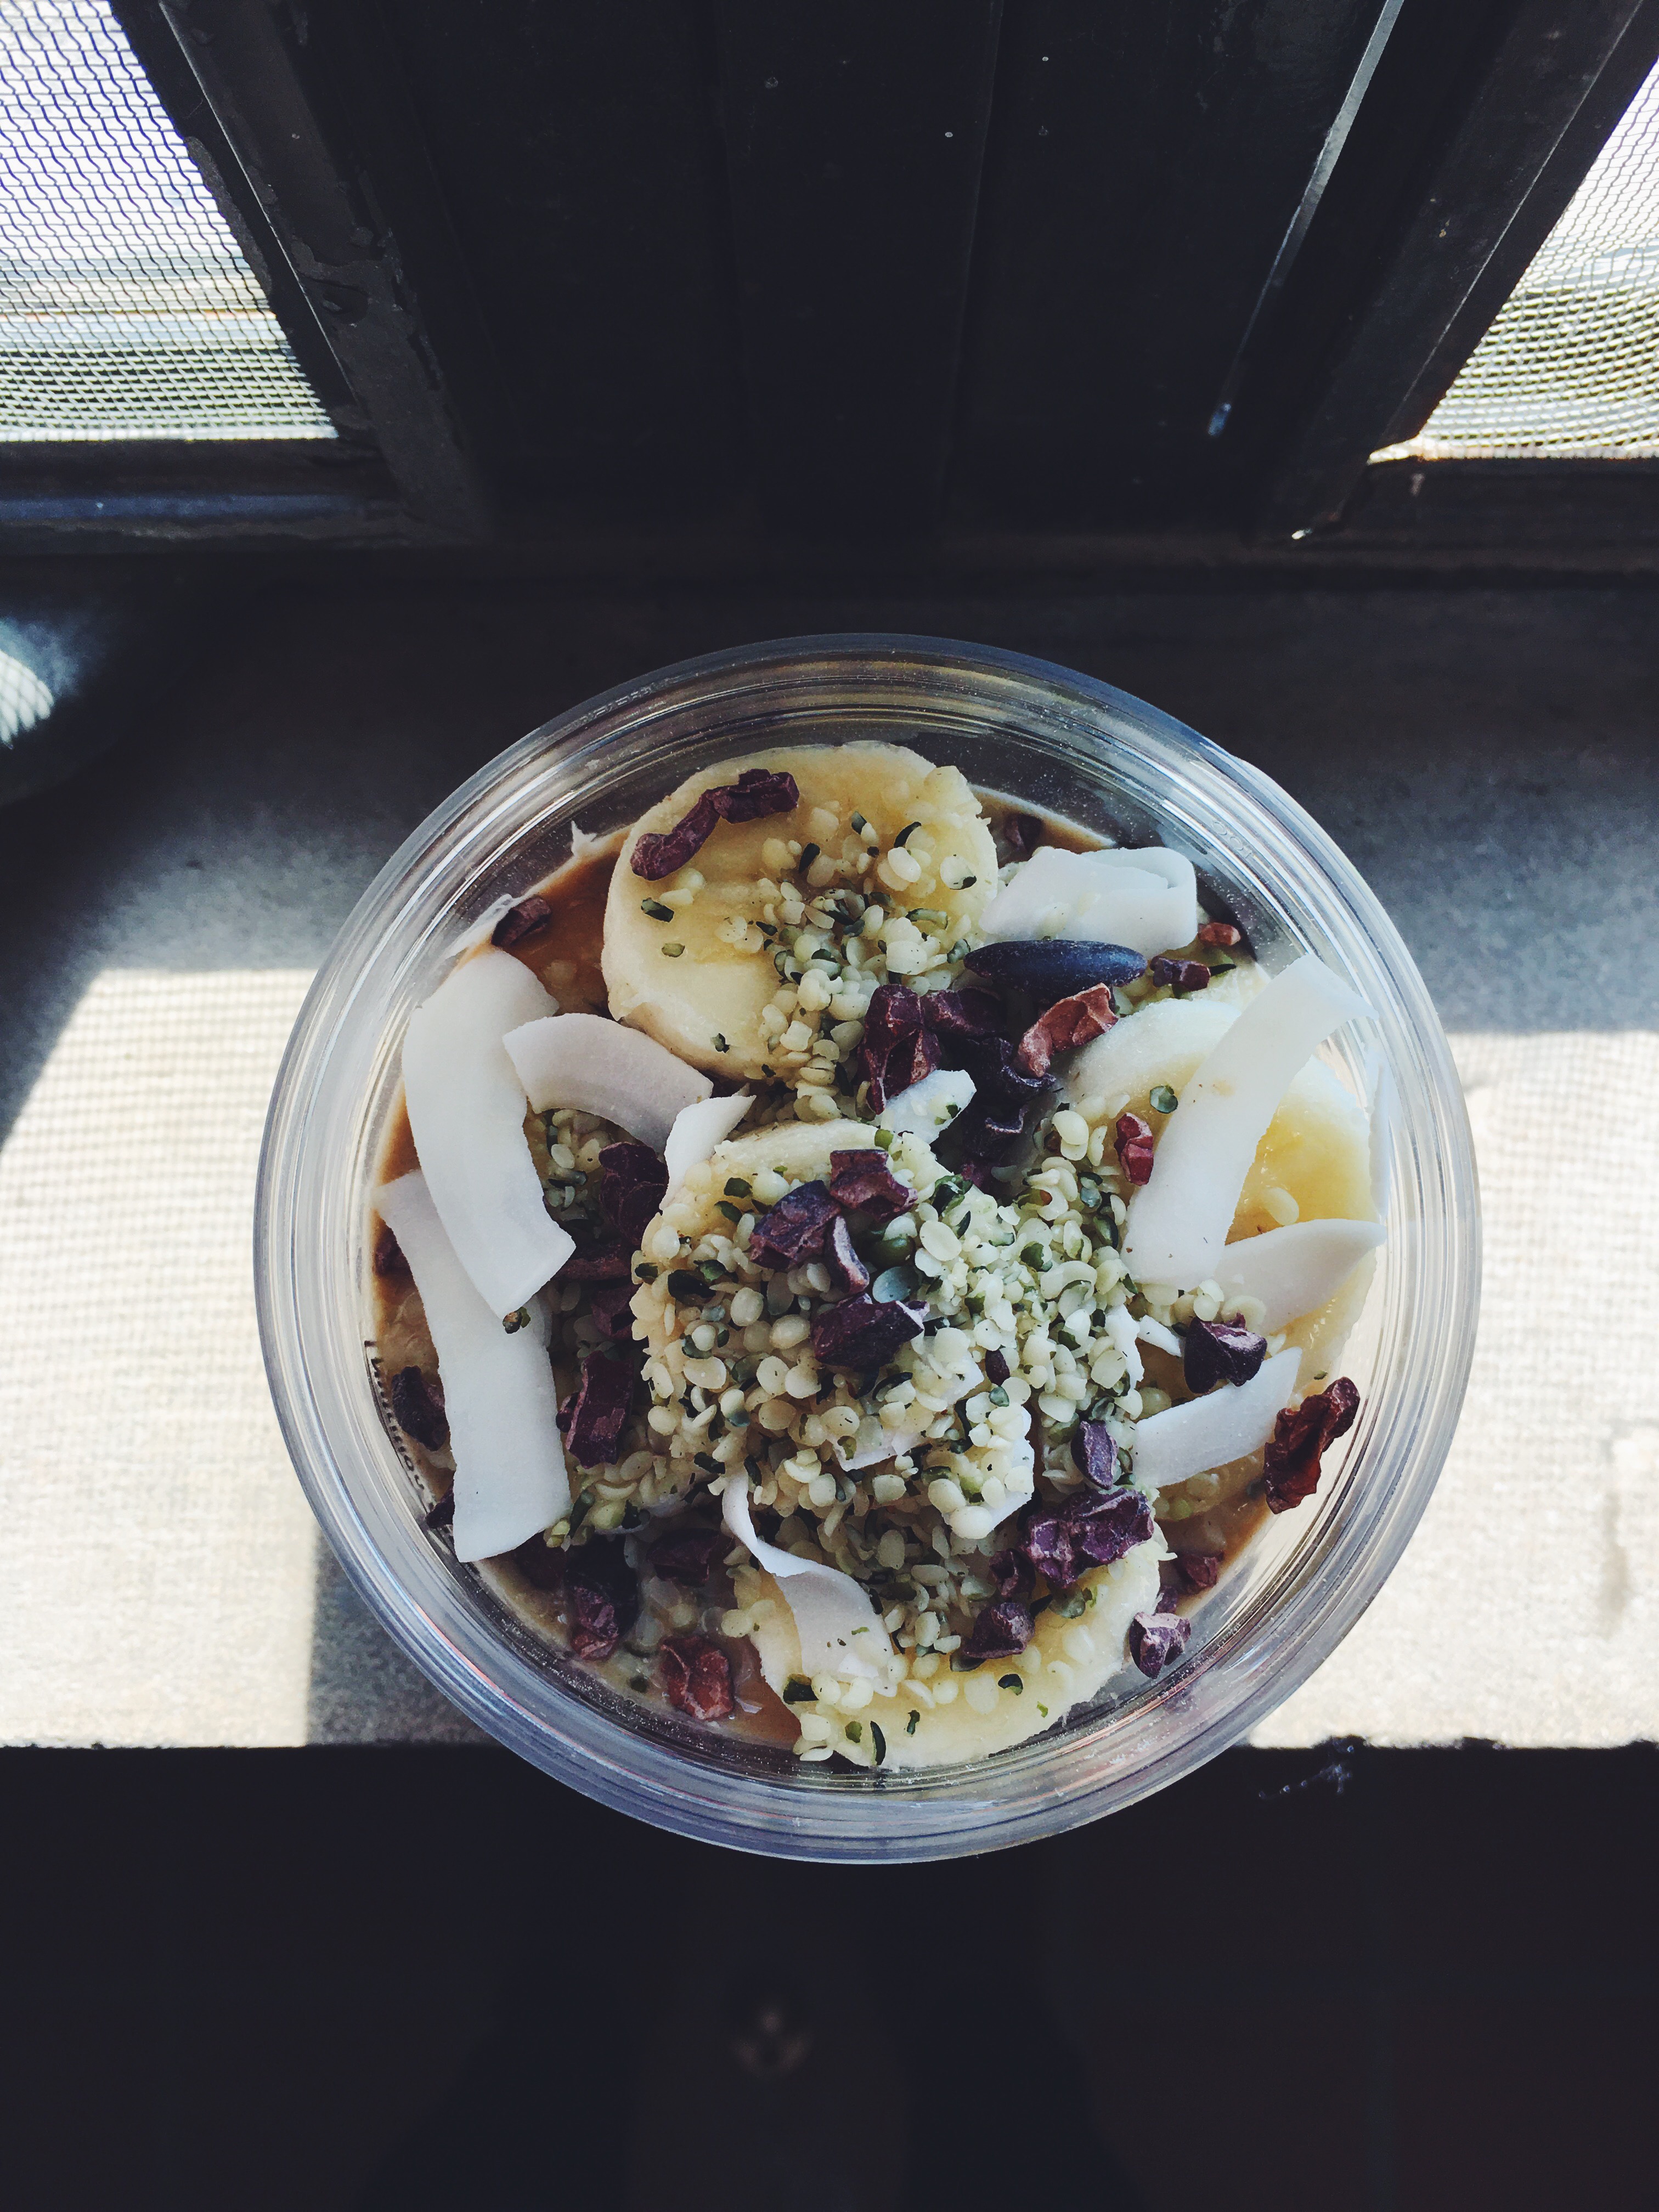
This breakfast literally kept me full for hours on end, powered my workout, and celebrated fall all in one bowl! Now that’s what I call a good start to a Tuesday morning!


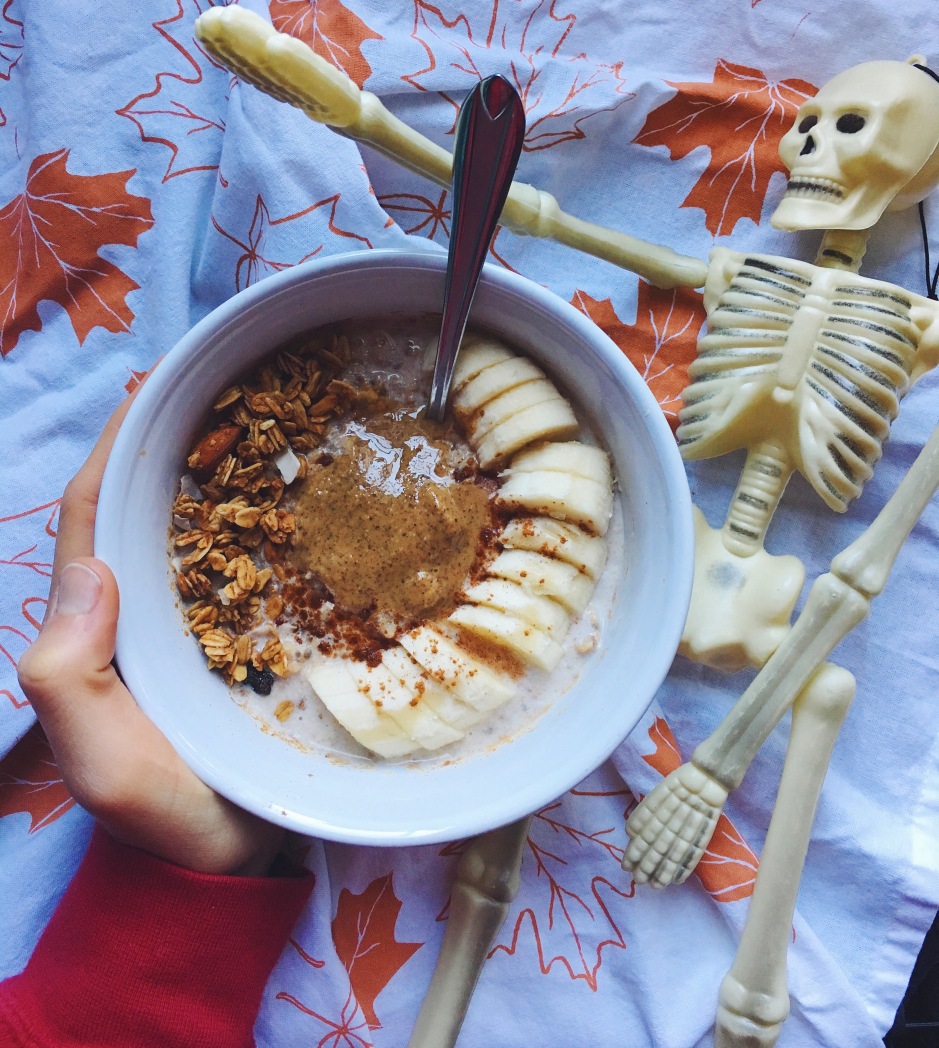
I also named this skeleton Fredrick for October, and since I have to put him away…. he needed a small appearance!


Pumpkin Pie Oatmeal

prep: 5 minutesProcessed with VSCO with f2 preset

cook: 2 minutes (in microwave!)


Ingredients:

  • 1/2 C. raw rolled oats
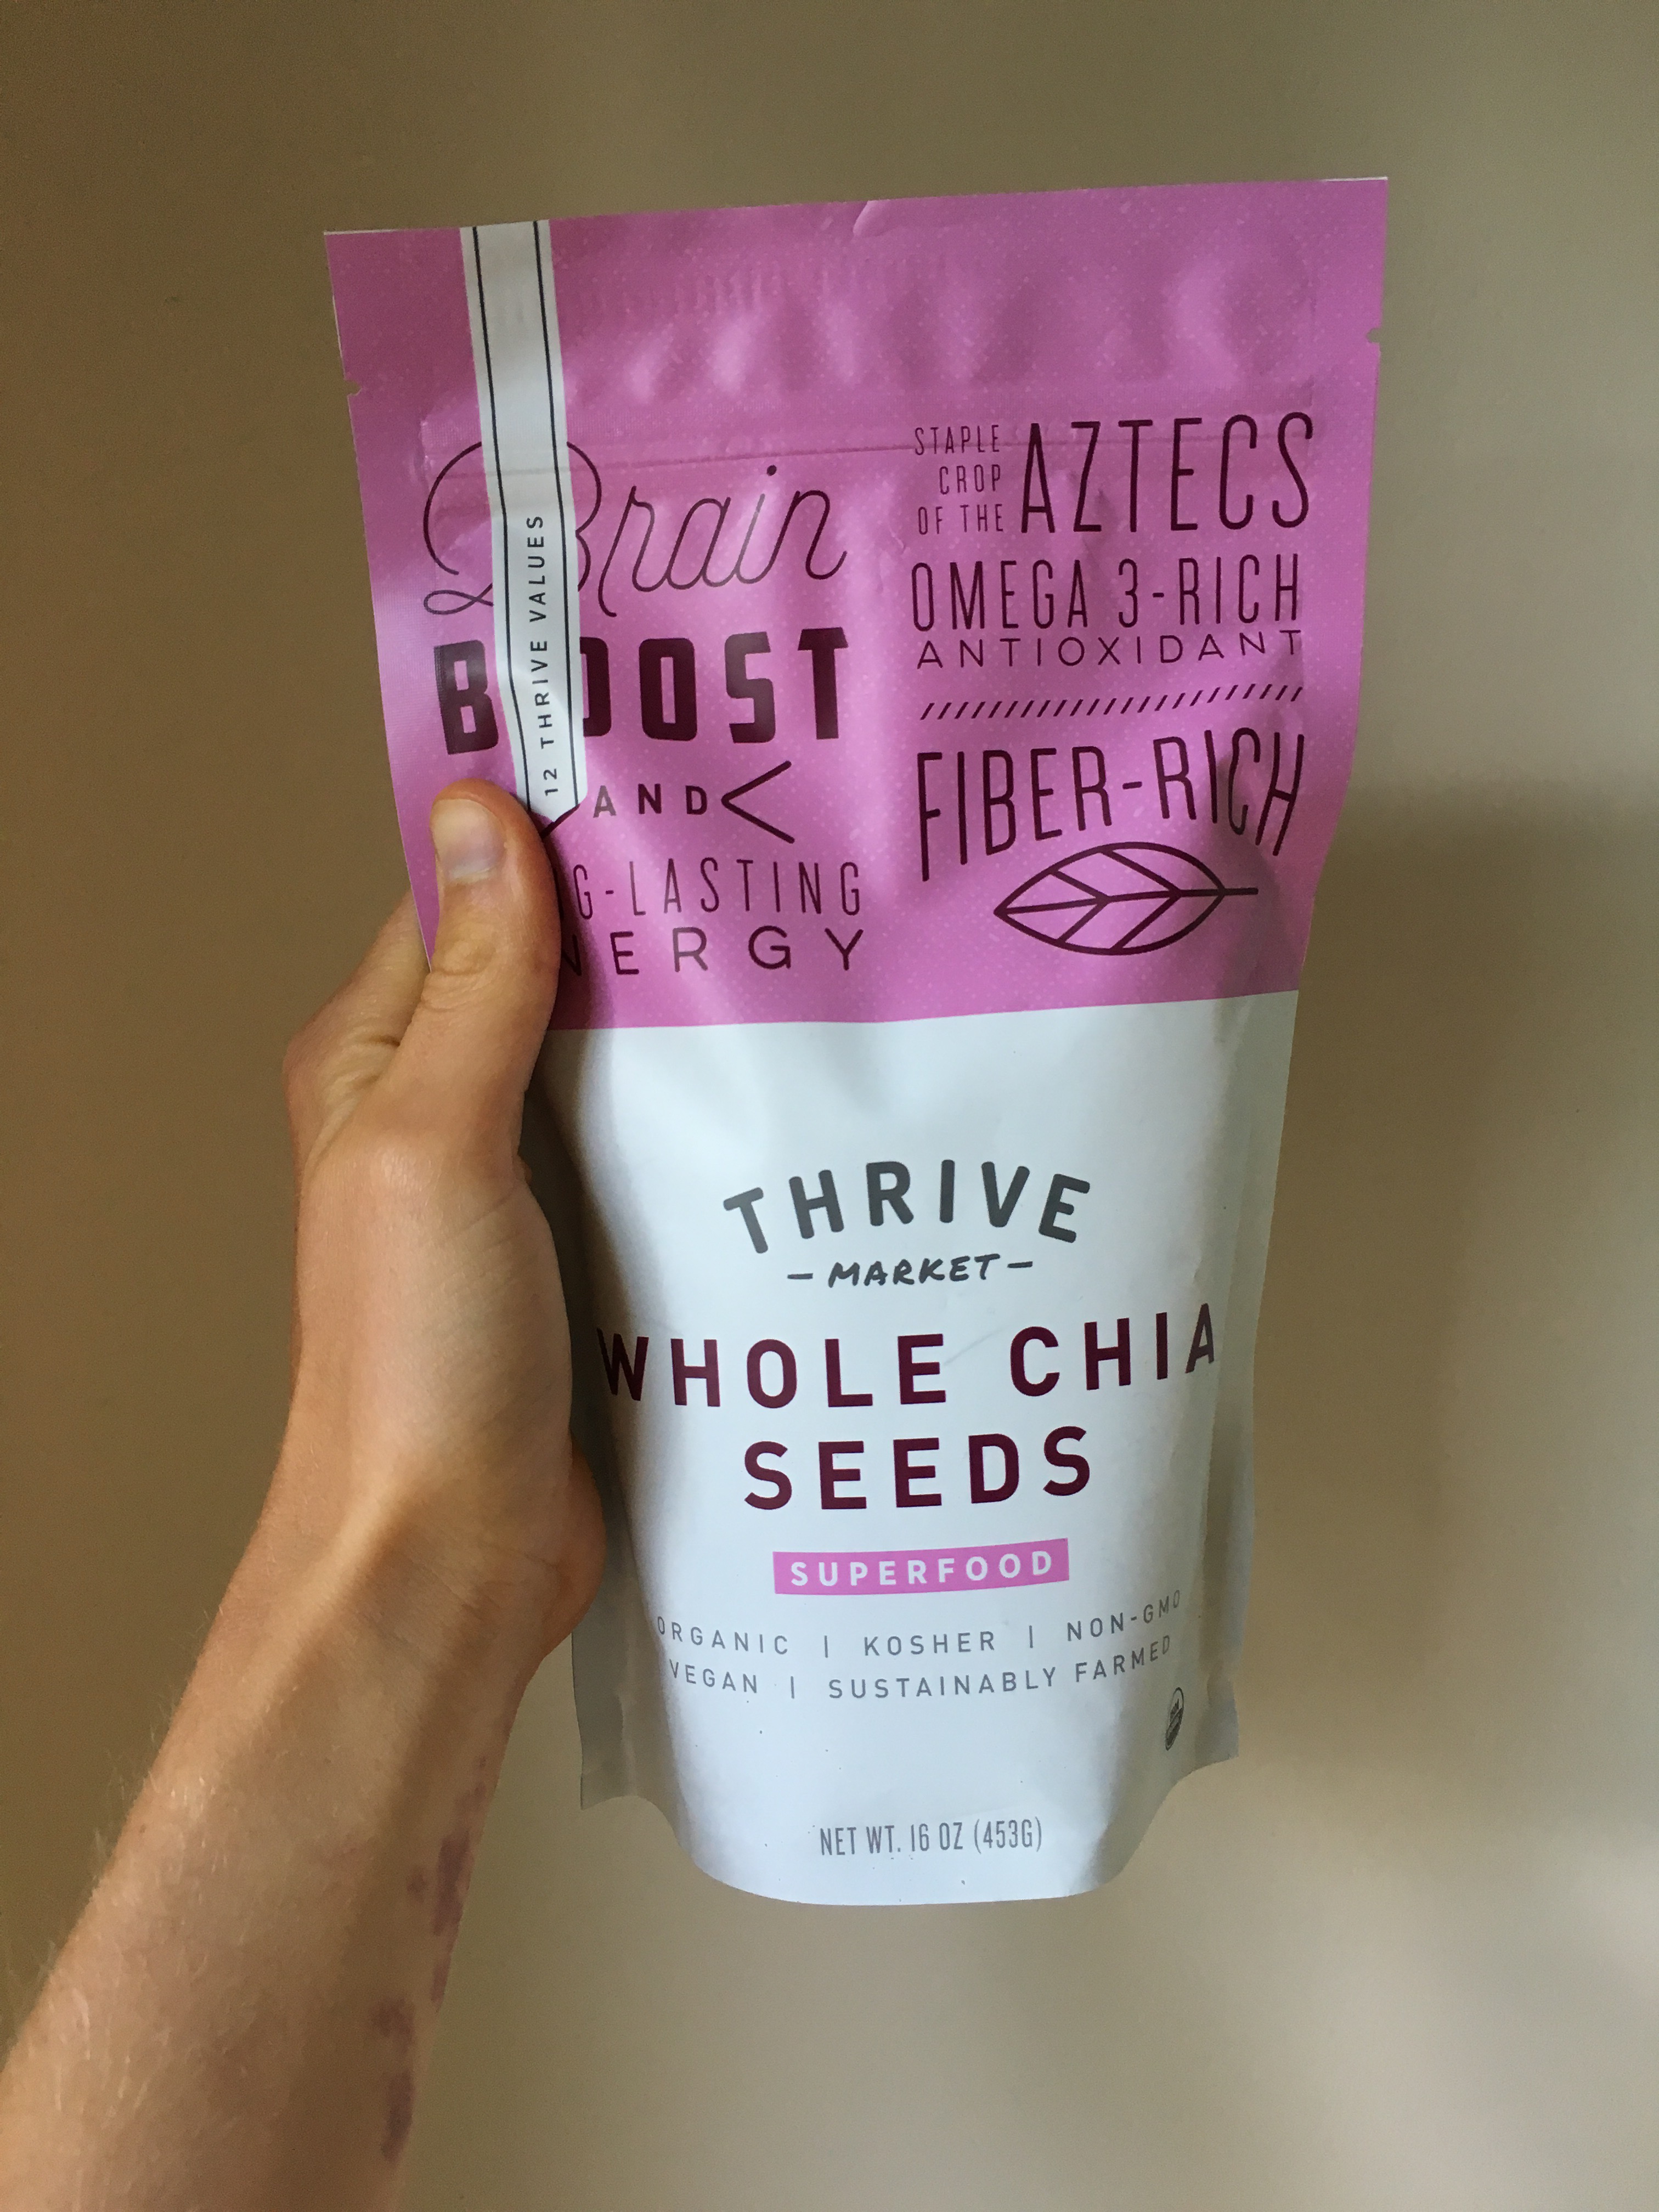
  • 1 tbsp. chia seed
  • 1/3 scoop vanilla protein (Sunwarrior)
  • 3 tbsp. organic pumpkin puree  (Simply Balanced)
  • 1/2 C. unsweetened almond milk
  • 1 tsp. pie spice (Penzy’s)
  • 1 tsp. cinnamon
  • 1/3 C. water
  • Small banana*
  • 2 tbsp. granola (Lovegrown Foods)*
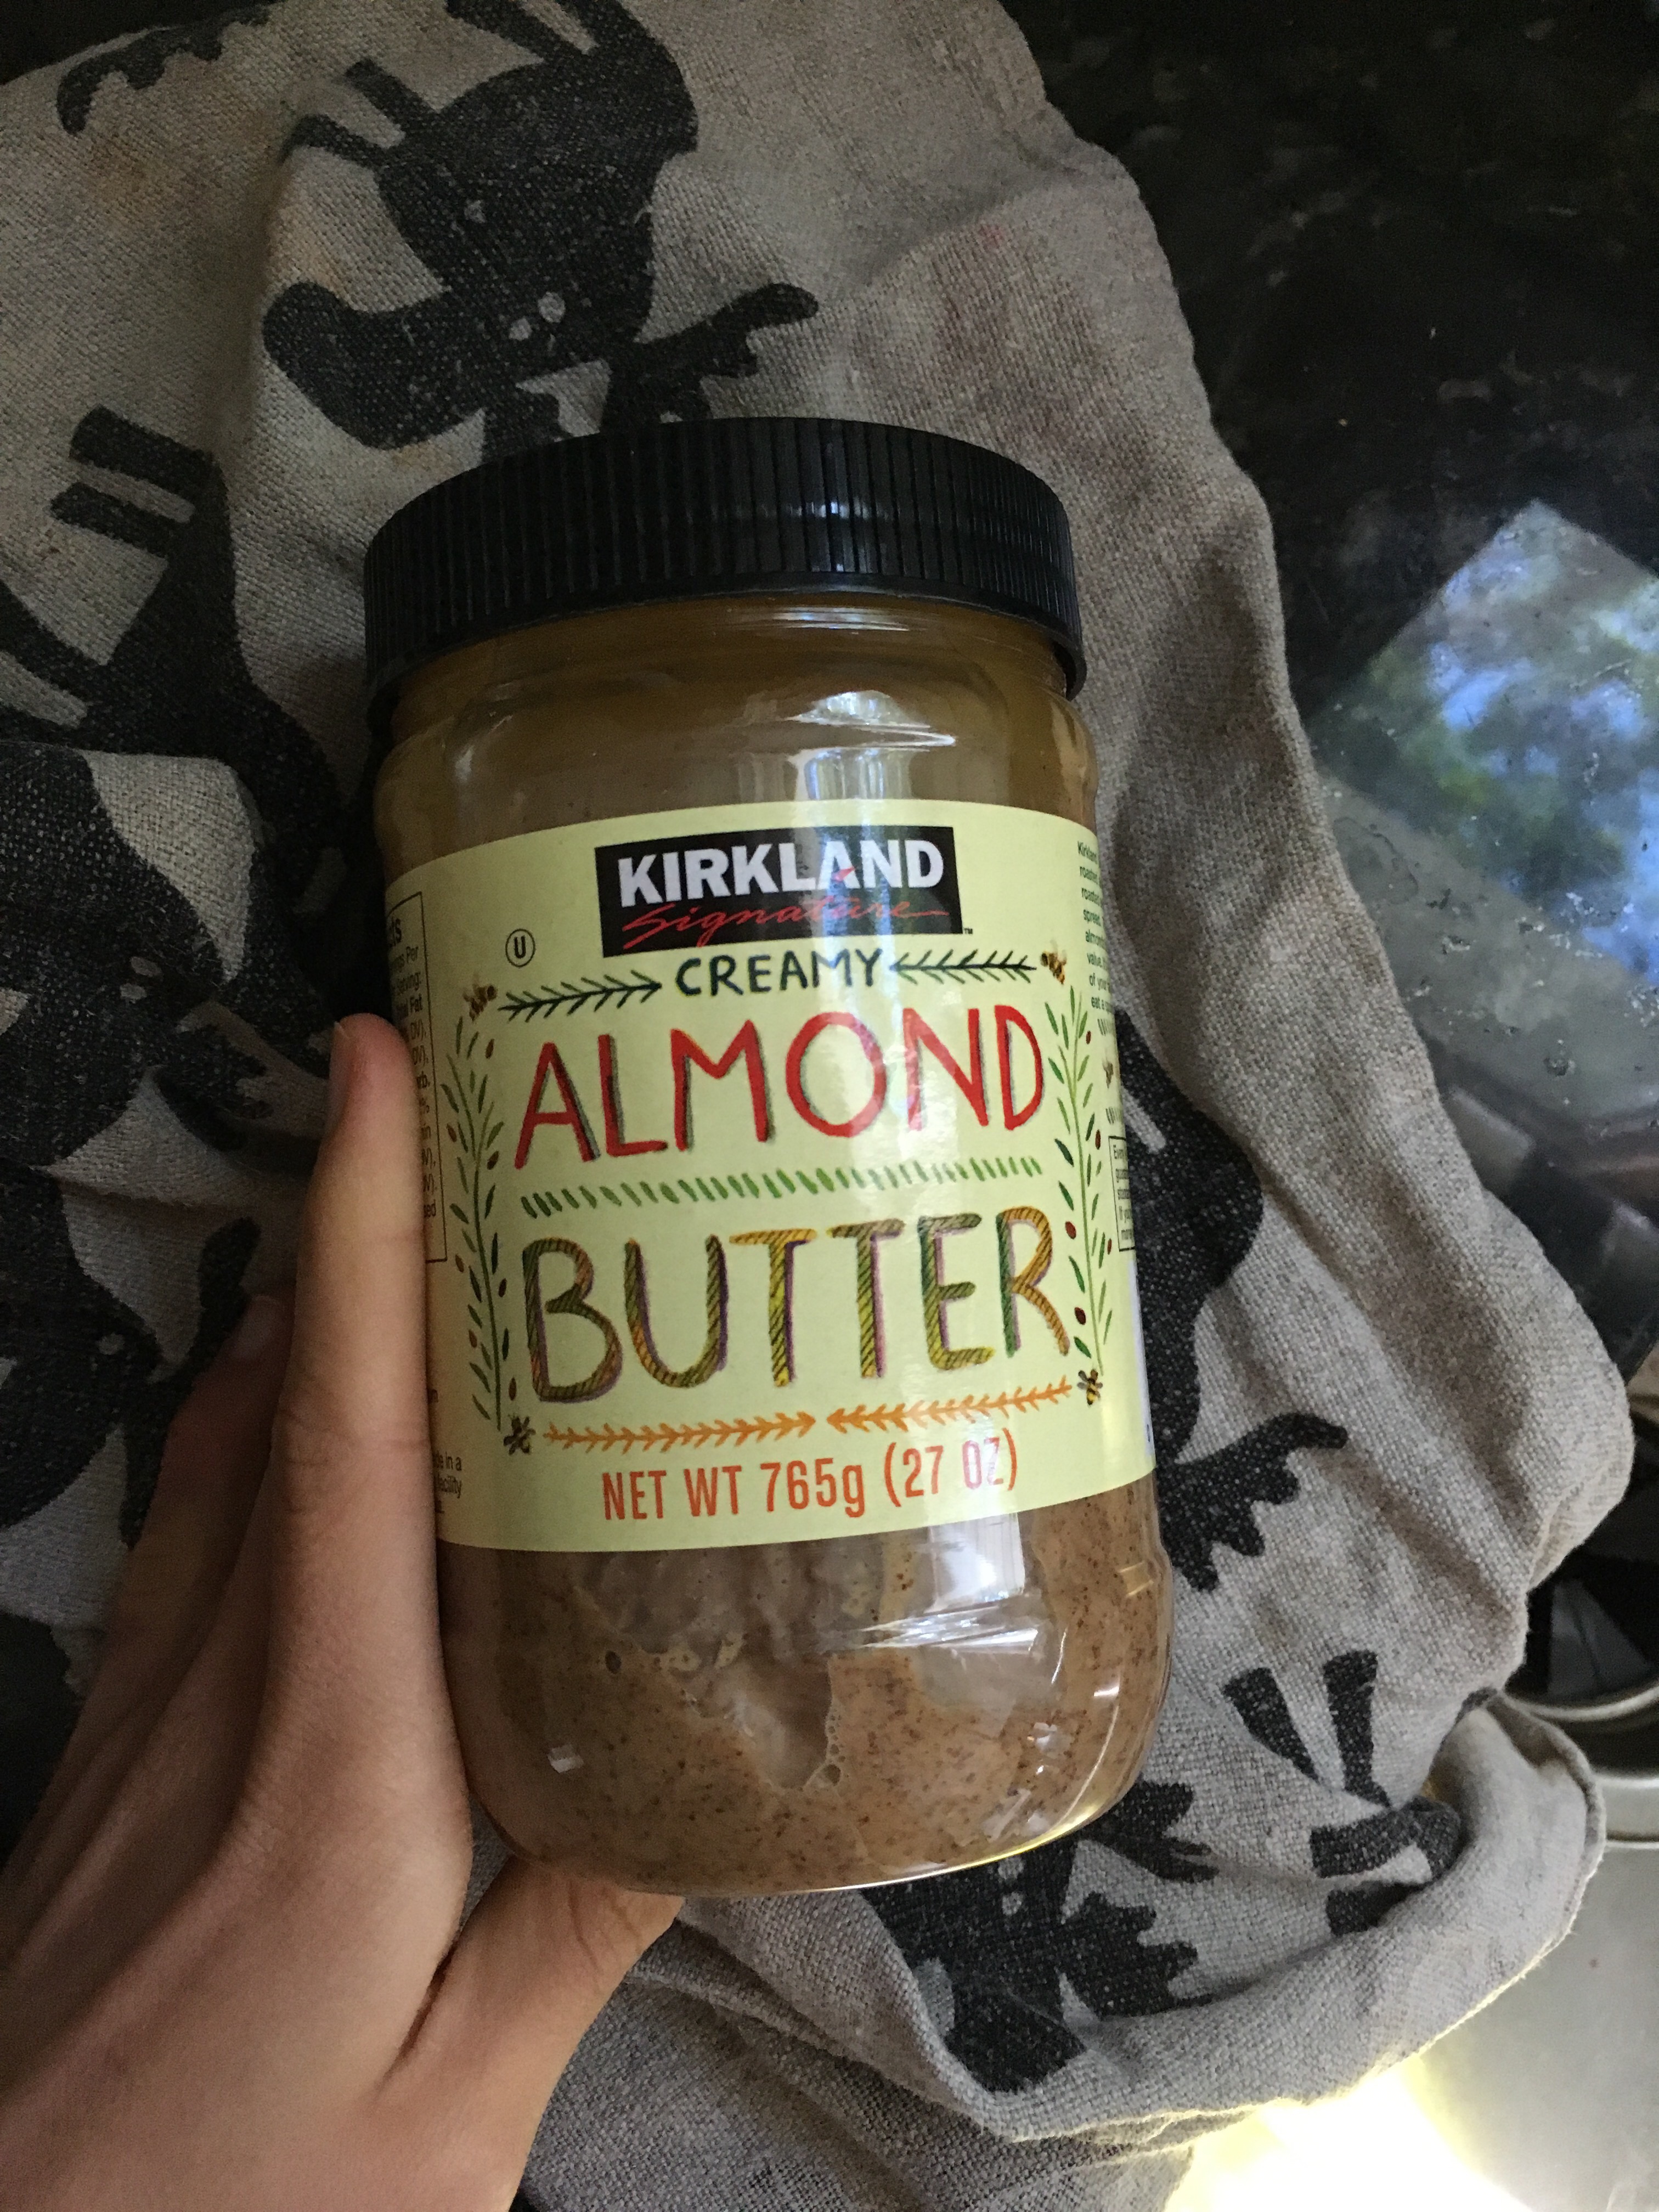
  • 1 tbsp. almond butter, raw (Woodstock Foods)*

  1. Add to a bowl your raw oats, chia seed, pumpkin and protein. Stir the ingredients until mixed. (if you are using a stove, this should be a pot over medium heat!)
  2. Now add in your water and about half of your almond milk. The other half will be used to top the oats.
  3. Stir this around until creamy and smooth. You may need to add a touch more water.
  4. Start adding your spices, and stir these into the mix.
  5. If you are using a microwave, cook for two minutes. The stove top requires a longer time frame, and should cook until the oats have absorbed all the liquids.
  6. Add another sprinkle of cinnamon and top those suckers with all them toppings and your left over almond milk!
  7. SMASHHHHHH!!!!!

IMG_4752.JPG

*Toppings are not necessary but are HIGHLY recommended. I mean, what’s a bowl of oats without some killer toppings???

Cacao Coffee Overnight Oats

Here we go- another darn bowl of oats.

Nah, I’m kidding’ you- these oats have been inspired by my drive to add more variety and spunk to my diet again after some serious hard times of eating the same things and ending up gorging on foods my system does not like. It’s a long story, but starting this week, I’m making it my goal to eat new foods, and explore some fun recipes for my dorm.

These make the list.


I had a concert last night, so of course I want a breakfast I can grab to run to class, and give myself a couple extra hours. Then, when I was thinking about that, I remembered that I didn’t finish a cup of coffee from the morning.

“MR. KRABS, I HAVE AN IDEAAAAAAAAAA”

7e10ead41df87247b46cda9f996ea02c-jpg

I took the coffee, grabbed almond milk and some cacao powder and went ham.

Then, I layered some Siggi’s yogurt, banana slices, coconut chips, hemp seeds and cacao nibs for the most perfect bite in the morning I’ve ever had.

Love ya overnight oats!


Cacao Coffee Overnight Oats

serves:1

prep time: 10 minutes

cook time: 2-3 hours; or overnight 


Ingredients:

  • 1/2 C. rolled oats
  • 1 TBSP chia seeds
  • 1/2 scoop vanilla protein powder  Sunwarrior)
  • 1 TBSP. cacao powder
  • 1/2 C. brewed black coffee
  • 1/3 C. unsweetened almond milk (Califia Farms)
  • 1/2 container of plain Siggi’s
  • 1 banana
  • 1/2 TBSP. hemp seed
  • 1 TSP. cacao nibs
  • 1 TBSP. coconut chips

Instructions:

  1. Find a cute ass jar.
  2. Now add the oats, chia seed, cacao  and protein powder. Make sure you stir the dry ingredients around before adding liquids!
  3. After you stir the dry ingredients, add your coffee and almond milk until you get the consistency you enjoy.
  4. Stir and stir WELL! You don’t want chunks of chia, now do you???
  5. Slice a full banana and add half, then layer on the yogurt To the oats.
  6. Layer the other half of the banana on top of this, then add the rest of the toppings as you like!
  7. Scoff this sucker down!

New Challenges, A New Perspective.

Boy, do I wish I could be posting some killer cooked recipe that I made while at home. Unfortunately, that is VERY unrealistic here in the lovely residence halls of Iowa State! And s unfortunate as it is and though the amount I am missing my kitchen is quite incredible, I am currently LOVING college. Yes, it is kicking my butt; but I am truly enjoying myself each day.

As a new college kid, and someone who has struggled with anxiety and an eating disorder, newness is a freaky situation to me. I am a very routine individual, and because that gets off, it gives me stress like no other. I love being relaxed, yet when your life changes so drastically, it can be very, VERY scary. Especially when social eating is not something I have been used to, as well as not having the beautiful option of cooking all my favorite things at the drop of a hat (I’m looking’ at you crispy sweet potato wedges!!!).

I have been scared here, and I am sure that there are many other individuals feeling the same way I am; trying to balance recovery as well as living a normal young adult life.

img_4210
Working’ on the social eating!

I spoke a few posts ago about my eating and how it has changed since being here. It’s been a process, but I am beginning to get a better grip on the excessive eating. It’s tricky to explain, but each day I take time to evaluate how I am feeling and what’s going on. I’m not saying it’s perfect- PUH LEASE!- in fact, just the other night I ate a ton, and felt like a pile of crap afterwards, but what I’m saying is that if you are struggling, you can make it, too.

When this all started, I was so afraid. I hated it every second, and it happened more often than not. I found myself seeing others eat things I didn’t even want, yet I felt pressured to succumb and eat what I didn’t have on my plate already. But I’ve realized that this is not making me happy. Following my values is not hard. It is a choice I enjoy, and sometimes, I forget that. I forget that I cannot be everyone else. I should not be embarrassed about being human, about being someone who enjoys broccoli or gets excited about almond milk. I should not be embarrassed to be an Emily.

img_3931
Emily and Emily for lunch?

I began to open up, and now I am finding happiness quite often.

I believe that everyone has the ability to find this balance in college; and I am excited for the day where I can say I am completely balanced here. For now, I wanted to share my journey, what I’m learning here in Iowa, and how I am getting closer to the real me. For now, remember that you too can embrace change.

.


The Grocery Diaries: College Style

Hey guys!

So, I’m very excited to be starting a series now every two week for when I grocery shop in college. You may say, WTF everyone grocery shops and you did it before so what’s the big (organic, dairy-free) cheese?

Well, lemme tell you somethin’. Being in college ain’t no walk in the park and I have a small freaking dorm room that I really want to fill with amazing foods and yet I have no space. So yea, I’m excited to share what I have and what I buy on a weekly basis!

I figured it could also help out some of you who are looking to pick up a healthier college life style, as well as maybe maintain one you already have, just with some extra goodies! I’m planning on sharing meals, snacks  prepare and things I receive from companies that can fuel your minds with creative ways to perk up the dorm dining life!

This week’s features are going to include my first two grocery hauls and some quick things I’ve eaten instead of the dining hall. I’m planning on grocery shopping every two weeks to save money, as well as make use of everything I buy. Can’t be wasteful!


Let’s get started with some groceries….

Grains:

  • I bought some staples for a young girl who has to be quick, and also only has a microwave, George Foreman grill, and a mini fridge. Therefore, some grains I bought at the store were a healthy(wish) cereal (please let me know of any brands that are low in sugar, with minimal ingredients!), granola (Purely Elizabeth -bless!), sprouted bread and snap pea crisps from Aldi, as well as a easy Annie’s mac + cheese!
    • Easy enough for me to store, as well as stay healthy without all the added stuff from the dining center.

Dairy and Canned Goods

  • So obviously my pictures were not as separated and categorized as I’d like but sometimes you gotta move fast! Staples bought: greek yogurt (then when out, I splurged on Siggi’s ), almond milk, dairy free cheese (for “treat”- don’t usually like to eat this!), canned tomatoes and sauce, beans and of course, sweet potatoes!
  • Unpictured: Enjoy Life dark chocolate chips, Endangered dark chocolate, more beans… the works!

Spices, Toppings and Such

  • At the store, I grabbed some to-go Justin’s almond butter packs because when in a hurry, these are great snacks for class! Also, ACV for dressings, toasted coconut chips and chili powder!
  • Unpictured: Cumin, curry, turmeric, pepper, mustard and cocoa powder (along with baking soda and powder!)


As for produce, I picked up some greens for the first week (then figured out that the dining center is chocked full of veggies, so…. not buying those!), also got some frozen fruit for smoothies, avocados, and raw vegetables!


Recipes for Easy Dorm-in’

  1. Coconut Matcha Balls
    Processed with VSCO with f2 preset
    Easy peasy!

    2. Curried Bean Bowl

Processed with VSCO with f2 preset
Easy peasy!


That’s it for this edition of The Grocery Diaries! I’m hoping to get one of these out every two-three weeks depending on when I get goodies and such from the store. Be on the look out for more dorm friendly recipes, as well as new products I’m trying out!


Curried Bean Bowl (Dorm Friendly!)

I wasn’t sure what to call this.

I think I have  a problem with that….  like, naming recipes and all that jazz? It’s so confusing because I really just like to throw stuff together and NOSHHHHHH before I can think of something clever to call it.

Oh well, Curried bean bowl it is!


This bowl is simple, delicious and quick to make when you have long days and the hanger strikes as you pull your sick bicycle into your residence hall bike rack after a long freakin’ day of classes and exercise or vegetation. Also super easy to make when the only things you have available to you are a microwave and a mini fridge.

Can you tell that that’s how my days have been going these past few weeks?


Curried Bean Bowl

serves: 1-2 (pending on your hunger)
Processed with VSCO with f2 preset
Serious yumminess.
Prep time: 10 minutes
Cook time: 10 minutes

Ingredients

  • 3/4 cup organic chickpeas and black beans, rinsed
  • 1/2 to full sweet potato
  • 1/2 tablespoon curry powder
  • 1/4 tablespoon chili powder
  • 1/4 tablespoon cumin
  • 1/4 tablespoon turmeric
  • 1/2 teaspoon ginger
  • Pinch of sea salt and black pepper
  • 2 1/2 cups mixed veggies (I used carrots, peas, corn, onion, cauliflower, mushrooms, and tomatoes)
  • 1 1/2 cups fresh spinach
  • 1/2 cup tomato sauce

*Optional toppings: nutritional yeast, sriracha, avocado and tahini. Optional, once again. BUT HIGHLY RECOMMENDED!


  1. Pierce your sweet potato with a fork and microwave on high for 5-6 minutes, depending on size.
  2. Place beans, spices, and raw vegetables into a bowl.
  3. Add tomato sauce to the mixture and stir away!
  4. Once the potato is cooked, place bean and veggie mixture into the microwave for 2 1/2 minutes.
  5. As this is “cooking”, deskin potato and chop that baby up.
  6. Throw your greens and potato into a bowl, and once the bean mixture is done, place that in the bowl as well.
  7. NOW TOP AWAY, GRAB A FORK AND SMASH!


Cheap, easy and damn delicious. Just the way we broke college kids like it.

Coconut Matcha Energy Balls

First dorm room recipe EVER!

And I’m really excited about this one, because it’s protein filled, easy to make and simply delicious for any time of the day. YES, ANY TIME OF THE DAY! WOOOOOOOO!

I started off with a base of dates because I haven’t used dates in forever and I grabbed an entire bag of them before I left for the good ol’ Iowa State. Then, I received a package on campus….

HEMP PROTEIN!

Oh my goodness, when I went down into the mailroom and got two packages from the fabulous Pure Goodness, I knew it had to be good. I opened those suckers up and what was in there? Vanilla hemp protein. Something I’ve been DYING to try!

I immediately thought dates and protein to combine into some kick ass energy balls I could store in my bag for later usage during class. Then I sifted through other products, found my matcha tea powder from Healthworks and went to work!

These will keep you full, happy and healthy as you knock it out this semester! (Or for you with an actual job, just life!)


Coconut Matcha Energy Balls

yields: 12 energy balls

cook time: 20 minutes


Ingredients:

  • 12-13 pitted medjool dates
  • 1/4 cup organic coconut flour
  • 2 tablespoons creamy, unsalted almond butter
  • 1 scoop vanilla hemp protein (I used Pure Goodness)
  • 1 tablespoon matcha tea powder (I used Healthworks)
  • 2-3 tablespoons hot water
  • 2 tablespoons hemp seed (optional, for coating)

Instructions:

  1. Soak dates in warm water as you get your other ingredients ready.
  2. Add all the ingredients into a food processor, and blend until the mixture comes together as one.
  3. Scoop out the mixture and keep cold for about five minutes. It will be sticky!
  4. Remove mixture from refrigerator and roll into twelve even, bite sized balls.
  5. You now have to option to roll in hemp seeds (but I highly recommend!). Store in an air tight container in the fridge and GO CRAZY!

Almond Oat Maple Cakes

I was in need of pancakes this morning.

Yes, a real good ol’ stack of cakes because today, I left for college. You know what that means?

NO OVEN.

I’m slightly dying over here.

I went for a short run to clear my head and then went straight for the kitchen to make these babies. Simple ingredients, subtle flavor, and toppings galore before I depart and leave my beautiful stove and kitchen.


Almond Oat Maple Cakes

serves: 1

overall time: 15-20 minutes


Ingredients:

  • 1/2 Cup raw oats, ground into flour
  • 2 Tablespoons almond flour (I used Almond PRO)
  • 2 Egg whites
  • 1 Tablespoon maple syrup, pure
  • 1/2 C. Unsweetened almond milk (Califia Farms)
  • 1/4 Teaspoon baking powder
  • 1/4 Teaspoon baking soda
  • Pinch of sea salt
  • Dash of cinnamon
  • 1/4 Teaspoon maple extract
  • 1 Tablespoon coconut oil

  1. Ground raw oats into flour and dump into medium bowl with almond flour.
  2. Add all other ingredients besides the coconut oil to the bowl in order, and mix until it becomes a smooth and creamy base. You may need to add water to make the mix a bit more runny.
  3. Heat a frying pan with the coconut oil.
  4. Using a ladle, drop two to three tablespoons of the pancake mix onto the pan and wait for bubbles to form on the top.
  5. Flip your cakes as the bubble begin popping!
  6. Throw those suckers on a plate and top away! I used fresh banana, mango and of course, nut butter!

 Let me know if you try these babies- they’re delicious!!!


Foodie Essentials: College Edition

It’s August.

I kid you not, this is August and on Monday, I leave for college. Summer flew by quickly, and here the big change is coming in only a couple days. And what am I doing these few moments before I leave for my adventure?

Last minute shopping because I love procrastination!

I’ve been thinking a TON about what I’m going to be bringing for college and as a foodie, one of my biggest things is where I’ll be storing my essentials for meals on campus. Sure, I’ll be using the dining hall; but we all know you can’t survive off of that! In this post, I’ll be sharing some of the fun finds and key pieces I shopped for to bring with me for my dorm room.


Snackities

Hummus


I am ADDICTED, i repeat ADDICTED to hummus. Hope foods hummus has just recently been a part of my rotation, so I couldn’t help but grab a HUGEEEE container of it at Costco with my mom. Pray it fits in the mini fridge!

Bean Snacks


These little roasted beans are a serious must for a salty craving that is chocked full of healthy proteins and carbs. As a vegetarian, I wanted to make sure I had a snack I could rely on in-between class changes that would fuel me the right way, and it so happened that these were also at Costco! I often make my own roasted beans at home, but since I won’t have an oven, these are great.

Bars


Bars are something I stay sort of away from just because you never know what the ingredients can come out to be. But, as life moves fast, you also need fast snacks! I love lara bars, kind bars, perfect bars, etc. as they have ingredients I can understand and trust. They’re more for emergency, but we all have emergencies, right?!

Dates


If I didn’t have dates to dip in nut butter or create energy bites, then I would die.

*other snacks I’m bringing include: brown rice cakes, plantain chips and popcorn kernels!

NUTS AND SEEDS

Chia Seeds


Chias are perfect for snacking too, especially when made into a simple pudding so these will have to be a staple at all times. I’m always throwing them into my oatmeal, sometimes adding to my toasts. They add a healthy fat and protein in a quick pinch!

Raw Nuts


I think my go-to snack is almost always a good serving of raw nuts just because there’s never added sugar in them and they really help to keep you full when you won’t be eating again for quite sometime. My favorites include pistachios and almonds, and this one pack has pecans thrown in there, too!

Almond Butter


So this is a hugeeeee and delicious jar of almond butter that will hopefully last me awhile! I’m obsessed with nut butter. It’s good on everything.

*also bringing my tahini, homemade nut butters and hemp seeds!

Grains:

Quinoa


I’m in love with quinoa, and Ancient Harvest has some of the best blends so a huge bag is necessary for the microwave cookin’!

Brown Rice


I got this small pack of brown rice at a fest that I went to, so it’s pictured but I do have more short grain brown rice I’m bringing with also to be cooked in the microwave! Super great for those macro bowls to fill up on cheap, yet nutritious food!
*other grains include Ezekiel bread, Engine 2 wraps, raw oats, bean pasta and coconut flour!

Random extras:

  1. Containers and a lunch bag: How else would you carry your stuff around campus?! I got a ton of rubbermaids, cute collapsable salad bowls, and regular containers for storage.
  2. Tea Towels: Gotta have cute towels when you’re instagramin’ some weird looking meals, am I right?
  3. Cute bowls and plates: ^^^^^^
  4. Almond milk: Duh.
  5. Cutting board and knife
  6. Can opener: Hello, I only eat beans like 8 days a week.
  7. Sriracha and nutritional yeast: goes on everythannnnnng.


There’s so many other essentials I’m sure I’ll be packing, but for now, here ya go! Let me know what types of essentials you use daily and would bring where ever you could!